In this post, I will be installing System Center Data Protection Manager 2010:
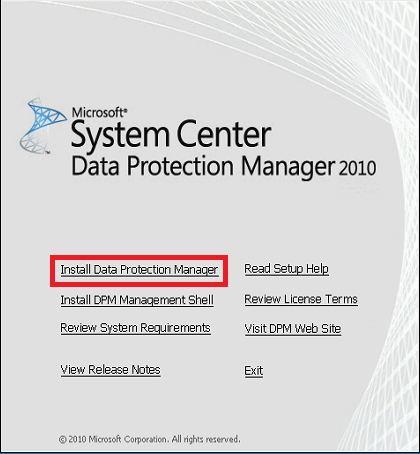
The DPM 2010 installation is rather straight forward, and most of the external dependencies (i.e., Single Instance Storage (SIS) / PowerShell 2.0 / Windows Installer 4.5) get automatically installed during the installation. However, .NET Framework 3.5 SP1 (server feature) should be installed / enabled before installing DPM 2010. To begin installation, run the setup.exe from the installation media to launch the DPM 2010 splash screen as illustrated below:
Accept Microsoft licensing agreement:
The installer copies temporay files, and the DPM setup wizard launches, click ‘Next’ to continue: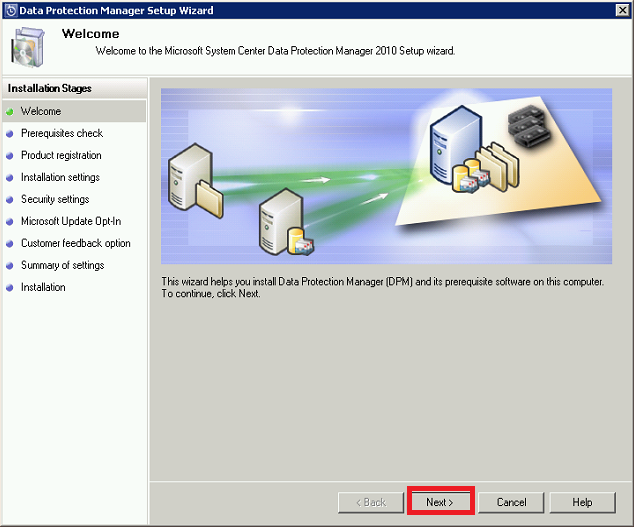
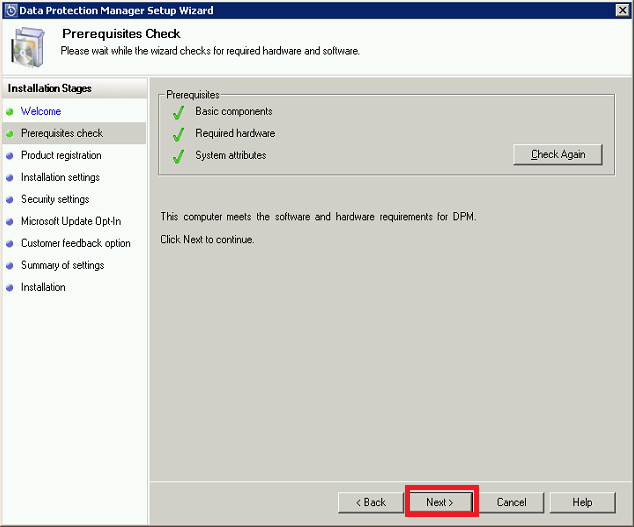
Prerequisite checks are performed, including basic components, hardware requirements, and the system attributes. As mentioned above Single Instance Storage is required which is missing, as illustrated below. Clicking ‘Next’ will install SIS, followed by the prompt to reboot the server before continuing with the installation.

Once the server reboots, unfortunately the same above steps need to be followed once yet again to get to the prerequisite check screen. (Only if the Single Instance Storage wasn’t installed previously)
Click ‘Next’ to continue. On the “Installation Setting” screen, DPM installation location can be specified, and the space requirements can be visually evaluated, but the main setting is to choose the SQL installation, i.e. Local SQL installation which is basically a free license of SQL Server 2008 SP1 with DPM installation, or a remote SQL installation.
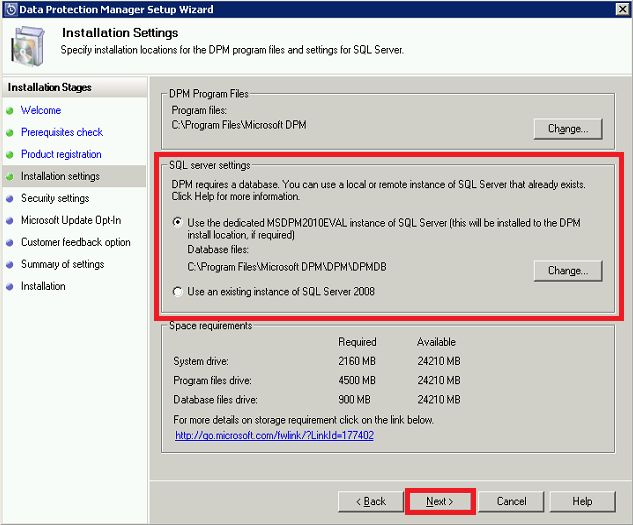
In case of local SQL installation, SQL service accounts are automatically created during installation, and for which passwords are requested:

I would highly suggest to select “Microsoft Update” to ensure the server is security patched.

Proceed with the Customer feedback options, and the summary of settings, to begin installation, followed by the confirmation of successful installation.

