There are multiple ways of installing Hyper-V in Microsoft windows server environment, each with it’s own significance.
Hyper V Standalone version (Free)
As per Microsoft, “Hyper-V Server edition is a dedicated stand-alone free product that contains the hypervisor, Windows Server driver model, virtualization capabilities, and supporting components such as failover clustering, but does not contain the robust set of features and roles as the Windows Server operating system. As a result, Hyper-V Server produces a small footprint and requires minimal overhead. Organizations consolidating servers where no new Windows Server licenses are required or where the servers being consolidated are running an alternative OS may want to consider Hyper-V Server.
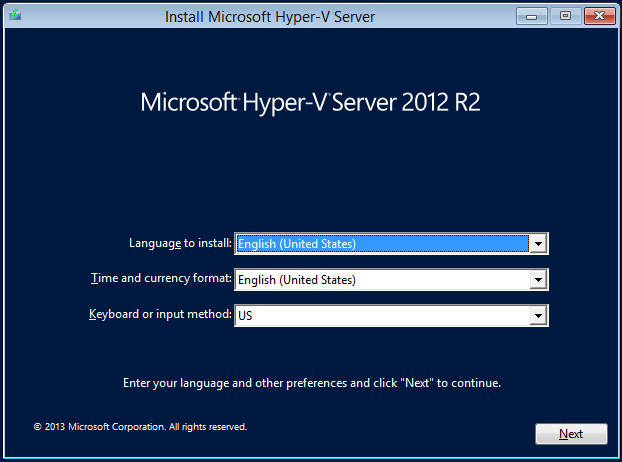
- Obtain the iso from Microsoft for free, available at: http://www.microsoft.com/en-us/evalcenter/evaluate-hyper-v-server-2012-r2
- Burn the iso to the dvd or mount it to the dvd drive.
- Boot the bare metal using the iso.
- On the welcome screen, select Language, time, currency and keyboard settings and click “Next”
-
- On the next screen, click “Install now”
- Accept the License agreement.
- Choose the Custom installation option (Until an upgrade is intended)
- Select the disk, and perform the installation
- Once the installation completes, log in to the system using the Administrator account as prompted on the screen, change the administrator password, and proceed with logging into your fresh hyper-v server.
- Select numerical options available to change the host name, ip address, DNS settings, join the domain, etc.


Hyper V Role Installation (With in the Full Windows Server Installation
Hyper V role can also be installed on Windows Server full installation, using the following steps:
- Have a server ready. In my case, I have a Windows Server 2012 installed on a bare metal server, and configured with any name change, tcp/ip settings, join to the domain, updates patched, etc.
- Ensure to have dedicated NICs installed as recommended by Microsoft for Host Management and the Virtual Networking. Storage and cluster should also be on dedicated NICs for better planning and management.
- Log in to the server, and launch “Server Manager”
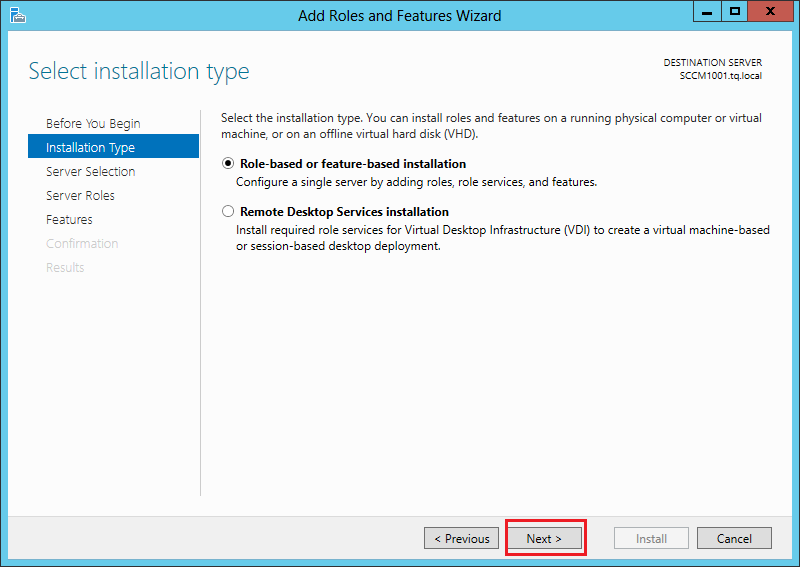
- Click on “Add Roles and Features, as illustrated using either of the highlighted options.
-
- Select the default “Role based as feature base installation”, and click ‘Next”
- Select the localhost, unless a remote installation is intended, in which case the target server should be selected.
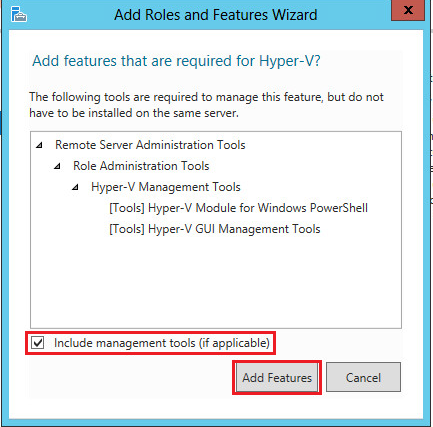
- From the list of server roles, select “Hyper V”. Once prompted for the installation of any required Hyper-V features, select yes and continue.
- Click “Next” on the features screen as no features are required.
- Click “Next” on Hyper V Screen.
- On the Virtual Switch screen, select the dedicated NIC to be used with the virtual switch to provide the networking within your virtual network inside your Hyper-V host. (Please note the installation will not continue until at least one virtual switch is created, however more virtual switches can be created later on, once the Hyper-V installation is completed.)
- Live Migration can be configured at the next Hyper-V installation screen, but can also be configured at later time as well. In our case, we will not be configuring at this point, as there will a seperate post just for the Live Migration.
- Next screen for default stores can be used to change the default locations for the storage of the virtual machines and the virtual disks for the Hyper-V host.
- Next screen is for confirmation, continue to complete the installation.